

What do bookmarks, scissors, bobby pins, and pens all have in common?
Well, if you’re me, you have seemingly hundreds of them until the exact moment you need one… at which point it feels as if they were all sucked into a bottomless void somewhere in the Bermuda Triangle! Needless to say, I like to have extra bookmarks on hand to (hopefully) prevent myself from needing to use tissues or old pieces of mail.
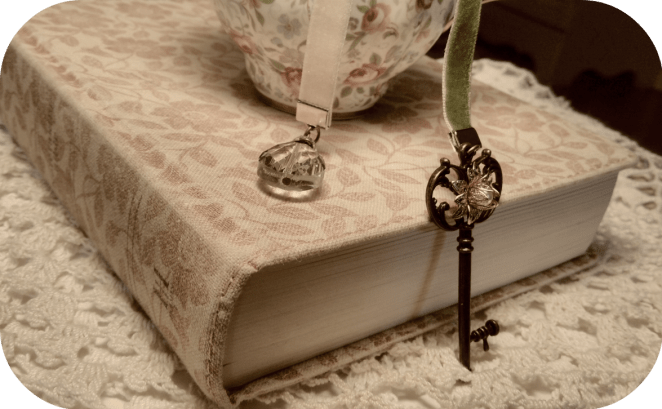
These velvet ribbon page-keepers are among my favorites; they are classy, fairly affordable, and easily customized to your personal taste. They are also extremely easy to make…

You’ll need some supplies; first, a pair of pliers, also scissors, some charms, (there are a huge variety of these in the jewelry section of our local Michaels store, but personally I love the Pemberly sets, which usually come with about six charms per card. This works out to be very affordable as you can make three bookmarks with this one purchase of about $5. It’s even less expensive if you can use a 40% off coupon! Aren’t these sewing charms adorable? Or for a guy, I spied a set of carpenter’s tools) some lengths of velvet ribbon, (I’ve tried regular ribbon but it just doesn’t have the strength, weight, or opulence of velvet. I get mine off of Etsy but you can likely find it at most craft stores. In this tutorial I’m using 3/8ths inch narrow ribbon, but I’ve used other widths such as the red pictured above and below) and lastly ribbon crimps (the metal piece that finishes the edge of your ribbon and allows you to attach your charm. You can find these in the jewelry making section of Michaels, Walmart, or online in various colors and sizes. Just be sure you have the right width for your ribbon!)
Phew, the wordy part is over!

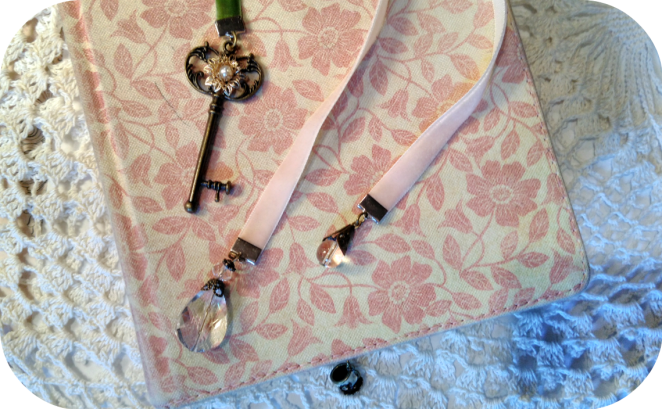
Step 1: Choose your ribbon and cut it to desired length. I use a book as a guide and leave an inch or so extra on each end.

Step 2: Use the pliers to press the metal crimps onto the ribbon. The crimps have tiny “teeth” so they will never budge if you press them on hard enough.
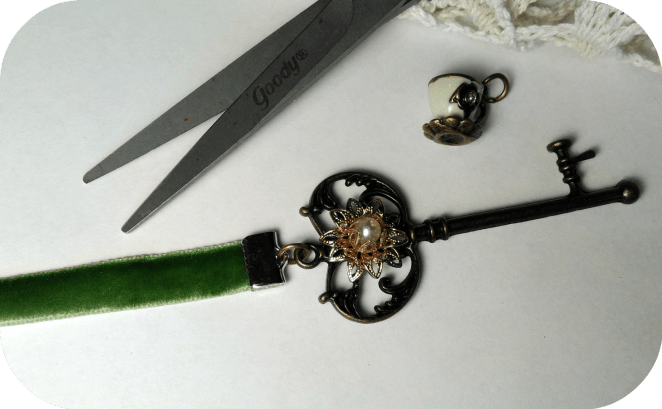
Step 3: Choose your charms. Open the jump ring (the tiny metal circle) attached to each charm with your scissors (see picture below), attach it to the crimp, and then secure it closed again by pressing together the gap with your pliers.

Step 4: Read and ENJOY!
Hope this inspired you a little. Feel free to share your favorite sources and types of bookmarks (or lack thereof!)

These velvet ribbon page-keepers are my favorites. They are looks classy, fairly affordable, and easily customized according to personal taste.
LikeLike